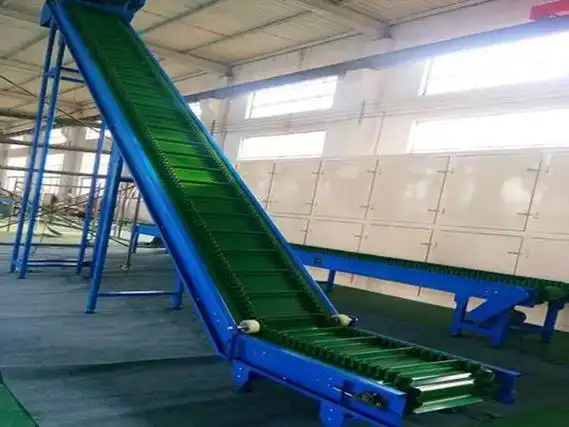
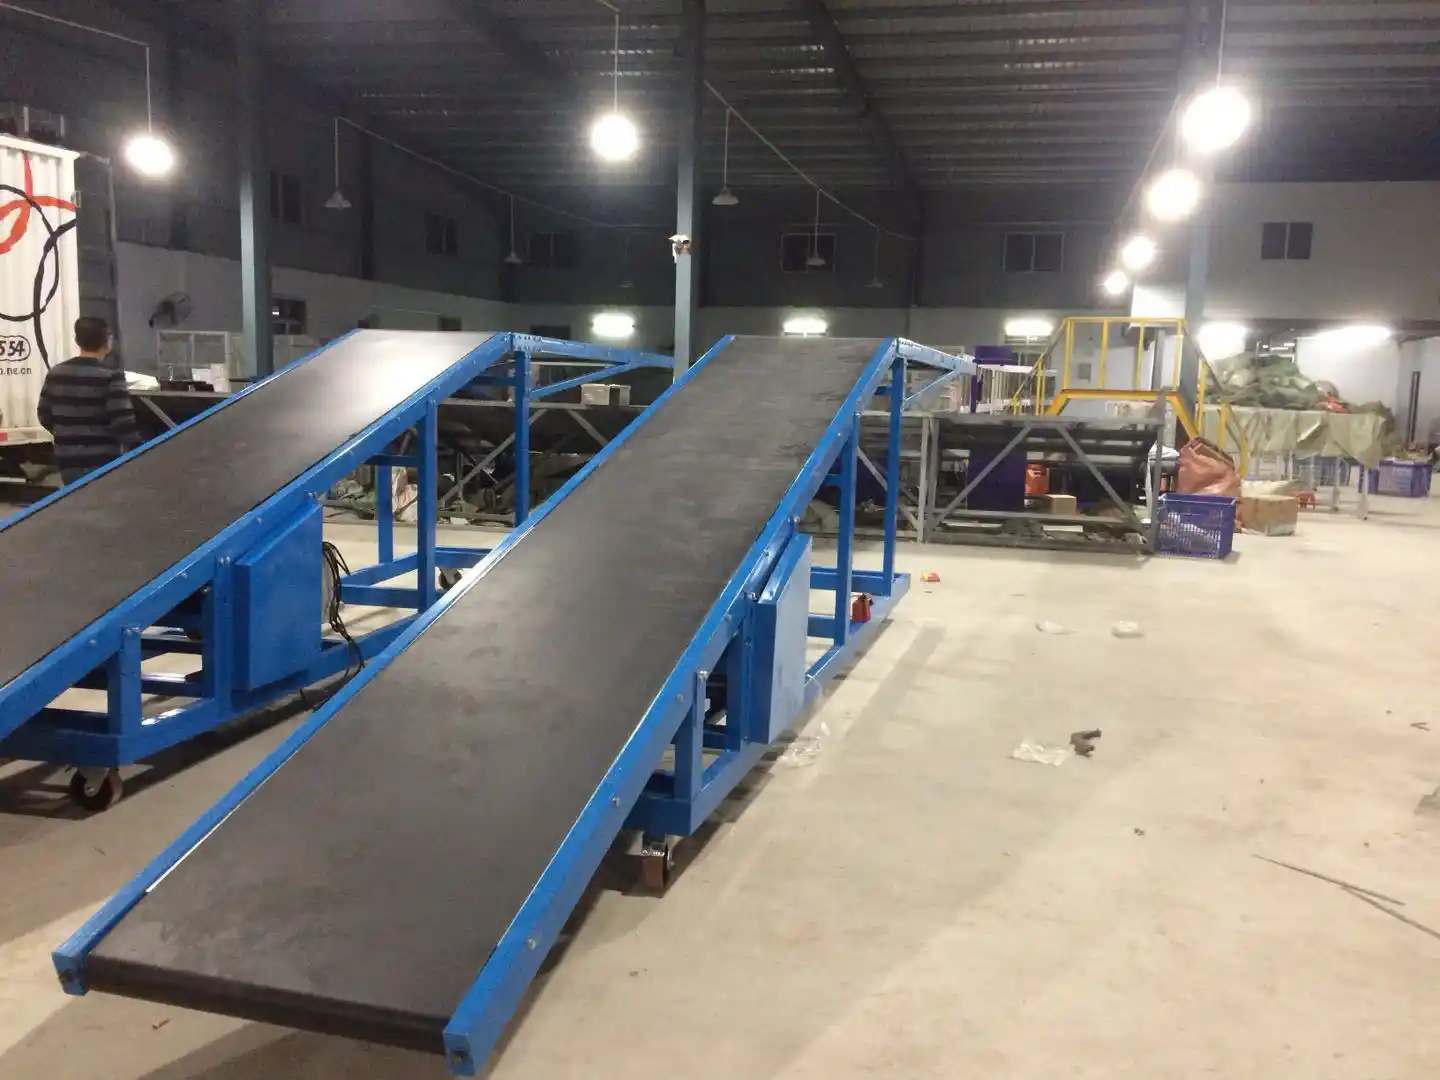
Conveyor belts are essential in various industries for moving goods and materials efficiently. Whether you're working in a warehouse, manufacturing plant, or mining operation, assembling a conveyor belt can be a straightforward process with the right tools and knowledge. This guide will walk you through the steps to successfully assemble a conveyor belt system, ensuring smooth and efficient operations.
Understanding Conveyor Belt Components
Before diving into the assembly process, it's essential to understand the basic components of a conveyor belt system. A conveyor system typically consists of the following parts:
- Belt: The continuous loop that carries materials from one point to another.
- Pulley: The rotating device around which the belt loops, typically at both ends of the conveyor.
- Idler: Support rollers that help maintain the belt’s tension and alignment.
- Drive Motor: Powers the system, causing the belt to move.
- Frame: The structure that holds the components of the conveyor system in place.
Step 1: Preparing the Work Area
The first step in assembling a conveyor belt is preparing the work area. Ensure the space is clean and free from obstacles. Having a clean environment will reduce the risk of parts being misplaced or damaged during assembly. Additionally, gather the required tools, which may include:
| Tool | Purpose |
|---|---|
| Wrench | Used to tighten bolts and secure parts. |
| Screwdriver | To install screws and fasteners. |
| Tape Measure | For accurate measurements of the conveyor system. |
| Level | Ensures the conveyor is correctly aligned. |
| Safety Gloves | Protects hands from sharp edges and moving parts. |
Step 2: Assembling the Frame
The frame is the foundation of your conveyor belt system. Begin by placing the base structure of the frame on a level surface. The frame should be aligned with the space where the conveyor will be installed. Most conveyor frames come in sections that need to be bolted together. Use the provided bolts and wrenches to connect the sections. Ensure that each joint is secure to avoid any instability during operation.
Tip: Double-check that the frame is square using a tape measure and level. Misalignment at this stage can cause problems later.
Step 3: Installing the Pulleys
Once the frame is set up, the next step is to install the pulleys. Pulleys play a crucial role in guiding the conveyor belt and providing the necessary tension. There are typically two types of pulleys: the drive pulley and the idler pulley.
- Drive Pulley: The drive pulley is typically located at one end of the conveyor and is connected to the drive motor.
- Idler Pulley: This is located at the other end of the conveyor and helps maintain the belt’s tension.
Secure the pulleys to the frame using the designated brackets or mounts. Make sure the pulleys are parallel to each other to maintain even tension across the belt. Use a level to ensure that the pulleys are aligned correctly.
Step 4: Installing the Idlers
Idlers are placed along the length of the conveyor belt to support and guide the belt. Begin by placing the idlers along the conveyor’s frame. These support rollers should be positioned at regular intervals and spaced according to the conveyor system’s specifications. The number and type of idlers depend on the specific application and the load requirements of the conveyor.
| Idler Type | Application |
|---|---|
| Carrying Idler | Supports the belt and material being carried. |
| Return Idler | Supports the belt’s underside as it returns. |
| Impact Idler | Designed to absorb the impact of materials being dropped onto the belt. |
Ensure that each idler is securely fastened to the frame and positioned to maintain the proper alignment of the belt.
Step 5: Installing the Conveyor Belt
Now that the pulleys and idlers are in place, it’s time to install the conveyor belt itself. Lay the belt over the pulleys and idlers, ensuring it is positioned correctly and remains flat. The belt should be long enough to wrap around the pulleys, with some extra length for tensioning.
Before you start the tensioning process, make sure the belt is properly aligned with the frame and pulleys. Misalignment can cause uneven wear on the belt, leading to premature failure. Once aligned, use the tensioning mechanism to adjust the belt’s tightness. This is crucial for ensuring the belt operates smoothly and efficiently.
Step 6: Installing the Drive Motor
The drive motor is responsible for powering the conveyor system and driving the belt. Install the motor at the drive pulley end of the conveyor. Depending on your system, the motor may be connected via a gear or direct drive system. Ensure that the motor is securely mounted and the drive mechanism is aligned with the drive pulley.
Once the motor is in place, connect it to the electrical power source according to the manufacturer’s instructions. It is essential to follow safety protocols and electrical guidelines during this process.
Step 7: Testing the Conveyor System
After the conveyor belt assembly is complete, it’s time to test the system. Turn on the drive motor and observe the belt in motion. Check for the following:
- Smooth Movement: The belt should move smoothly across the pulleys without jerking or slipping.
- Proper Alignment: The belt should remain aligned with the frame and pulleys throughout its operation.
- Belt Tension: Ensure the belt is neither too tight nor too loose. The correct tension ensures optimal performance and extends the life of the belt.
If the system is not operating as expected, troubleshoot potential issues with the alignment, tension, or drive motor connection. It’s essential to resolve any issues before starting the conveyor belt in full operation.
Step 8: Maintenance and Adjustments
Once your conveyor belt system is up and running, ongoing maintenance is crucial for ensuring its longevity and optimal performance. Here are some essential maintenance tips:
- Regularly Check Belt Tension: Over time, the tension on the belt may loosen. Regularly check and adjust as needed.
- Inspect for Wear: Check the belt, pulleys, and idlers for signs of wear and tear. Replace worn parts promptly.
- Clean the System: Keep the belt and components clean to avoid debris build-up that can cause friction and wear.
By following these maintenance steps, you can extend the life of your conveyor belt system and keep it running efficiently.
Conclusion
Assembling a conveyor belt system may seem daunting, but by following these steps carefully, you can complete the task with confidence. From preparing the workspace to final testing and maintenance, each stage plays an essential role in ensuring the system operates smoothly. With proper assembly and maintenance, your conveyor belt will efficiently handle materials and contribute to the productivity of your operation.


